Welcome aboard. This manual will teach you to find your position on Earth using nothing but the sky, your phone, and a little patience. No prior knowledge of celestial navigation is assumed. If you can read a watch and tell up from down, you can do this.
By the end of this guide you'll be able to:
- Stand outside, point your phone at the Sun, and have the app tell you where you are — to within a couple of nautical miles.
- Do the same at night using a star, the Moon, or Polaris.
- Combine multiple shots into a precise fix the way real navigators do.
- Talk knowledgeably about words like intercept, LOP, and DR without feeling like a fraud.
Most importantly, you'll understand why it works. Once that clicks, you'll never look at the sky the same way again.
I.The Big Idea (in one minute)
Here's the secret of celestial navigation, the thing that took humanity 3,000 years to figure out:
At any given instant, every celestial body is directly overhead exactly one point on Earth. That point is called the geographic position (GP). The angle between you and the body's GP — measured along the curve of the Earth — equals 90° minus the altitude you measured with your sextant.
Read that twice. It's the entire trick.
When you measure that the Sun is 38° above your horizon, you've just learned that you're standing on a circle of radius (90° − 38°) × 60 = 3,120 nautical miles from the Sun's geographic position. Not just kind of in that area — exactly on that circle. It's a circle drawn on a sphere (Earth), so it's huge, but it's a circle.
Take a second sight of a different body and you get a second circle. Two circles intersect at two points. Pick the one that's not in Antarctica and that's where you are.
That's it. Everything else — the books, the math, the apps — is just bookkeeping to make this practical.
II.First Launch: Meet the App
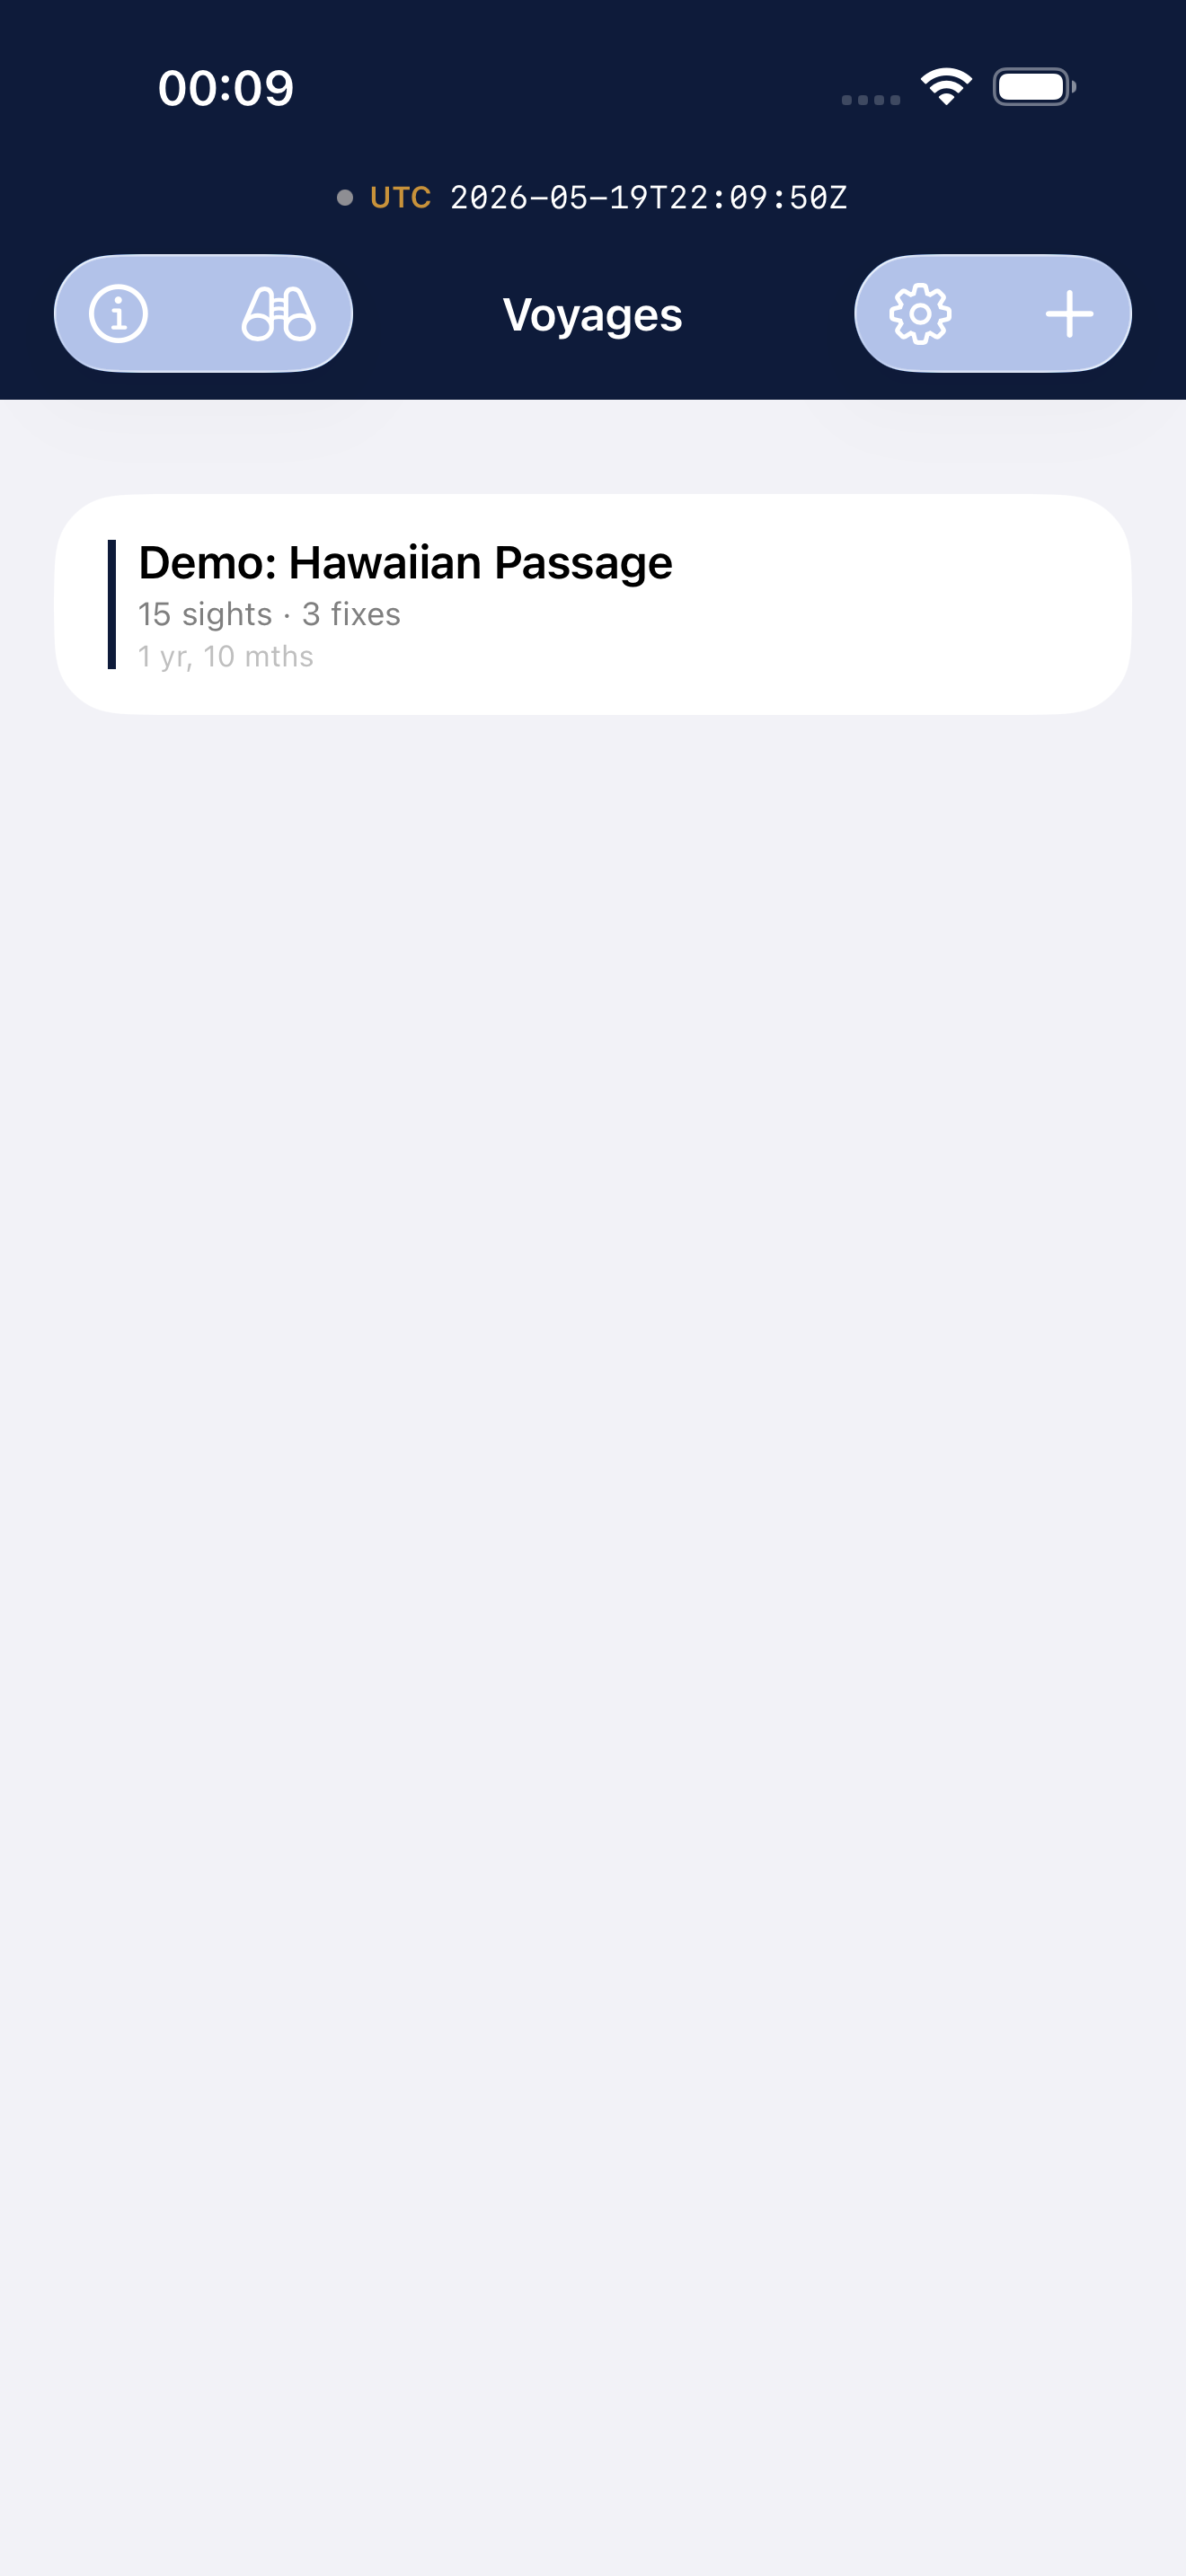
Open the app. You'll see the Voyages screen. A voyage is just a folder where related sights live together — a passage, a weekend trip, a practice session.
If your list is empty, tap "Try a sample voyage". The app will seed a demo voyage called "Demo: Hawaiian Passage" — three days of realistic sights from a fictional crossing west out of Honolulu. Use this to poke around. Nothing you do can break it; delete it any time.
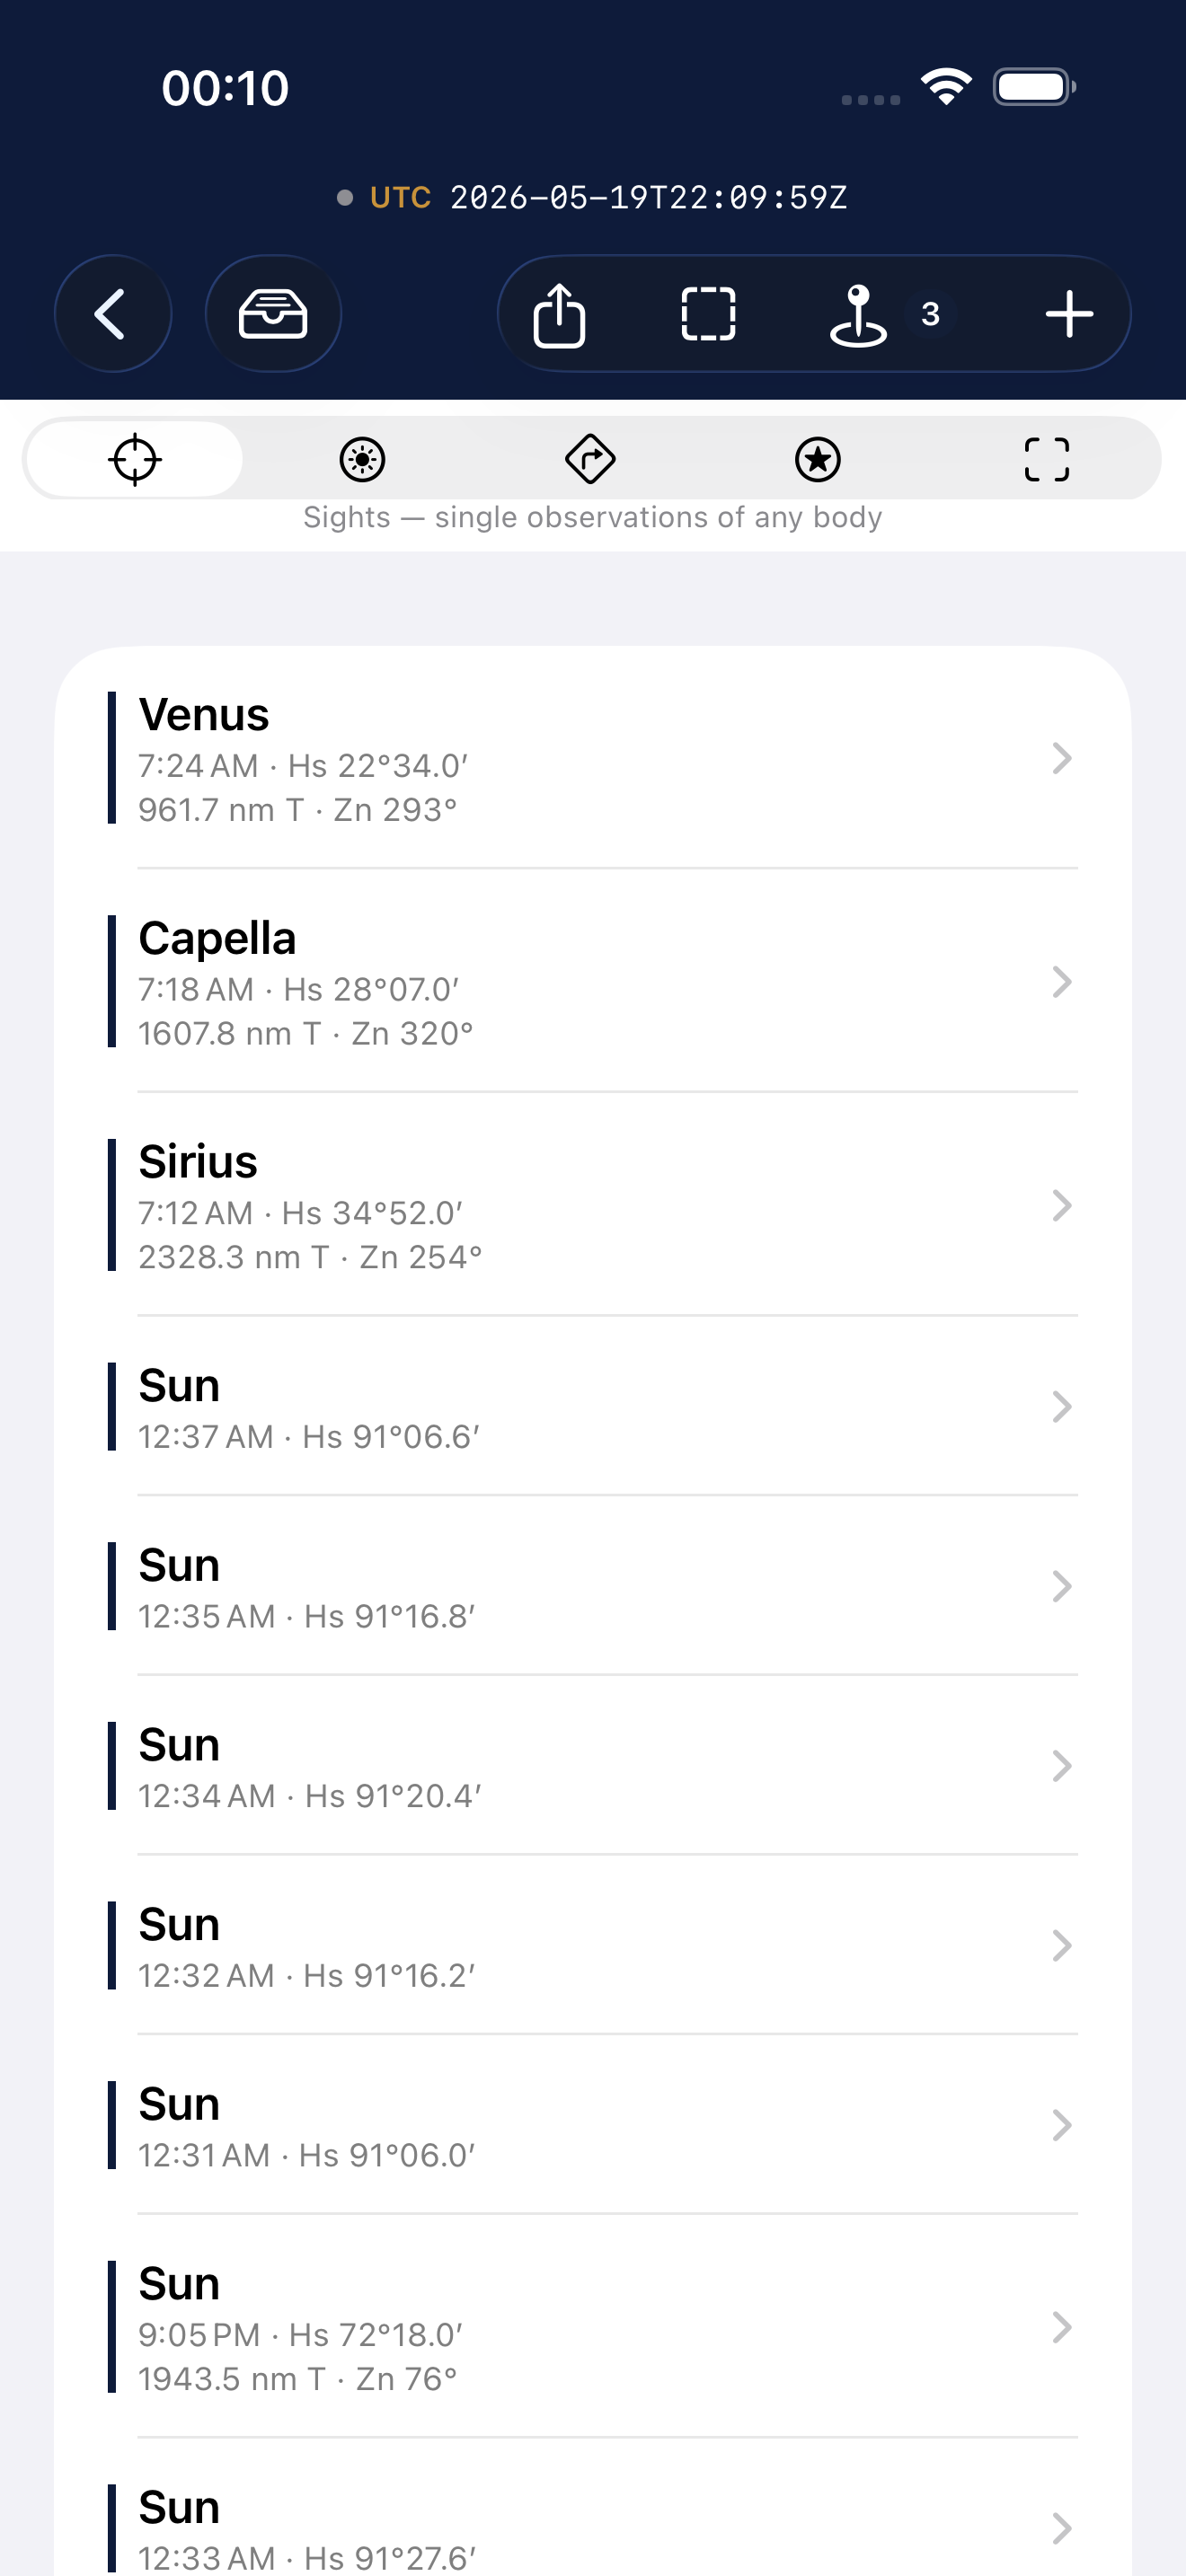
Open the demo voyage. You'll see a row of icons across the top — those are the five sight modes:
- Sights 🔭 — single observations of any body
- Noon ☀️ — the noon-Sun method (latitude from the Sun's peak altitude)
- Running ↗️ — combine sights taken at different times while moving
- Polaris ⭐ — latitude from the North Star
- AR 🎯 — measure altitude with the phone itself
The thin colored dot before "UTC" at the very top tells you about iCloud sync (gray = offline, yellow = syncing, green = synced). You can ignore it — it just works.
III.Pro Mode (for navigators with a real sextant)
Tap the gear icon in the top-right of the Voyages screen to open Settings. The first toggle there is Pro Mode, off by default.
In its default (off) state the app keeps things calm: only the must-have inputs are visible on each form, and the rest live behind tidy "Observation details" / "Instrument corrections" disclosures. That's the right setting for the AR sextant, the demo voyage, and any first hour with the app.
Flip Pro Mode on and every disclosure pre-expands across the app. Temperature and Pressure fields appear on sight entry. Almanac entries (GHA / Dec) and reduction details show without an extra tap. Nothing new is computed — it's the same screens, just unfolded.
IV.Your First Sight: The Sun, with AR Daytime
The fastest path to "wow" is the AR sextant. You don't need any equipment, just an iPhone and a clear view of the horizon.
The 60-second walkthrough
- Step outside at any time the Sun is comfortably visible (not too low, not directly overhead).
- Tap into your demo voyage, then tap the AR tab (viewfinder icon).
- The phone asks for camera + motion permissions. Say yes — they're only used while the app is open and they never leave the device.
- One-time calibration. Tap the gear icon (top right). Place your phone screen up, flat on a table. Tap Calibrate. The app reads your phone's natural tilt offset and stores it as your "index error". This step is like zeroing a real sextant — it costs you 5 seconds and improves every measurement forever after.
- Pick the body you're shooting (default: Sun).
- Hold the phone in landscape orientation, top edge pointing toward the body. Look through the camera and align the body on the yellow crosshair reticle.
- The HUD shows live
Hs(sextant altitude) andAz(azimuth — compass bearing). When the body is centered, hold steady for a second, then tap MARK. - The app captures the moment, the altitude, the azimuth, and the body. Confirm and Save.
You've taken a sight! Behind the scenes the app:
- Looked up where the Sun was at that exact UTC instant (its GP, declination, and Greenwich Hour Angle).
- Applied corrections for atmospheric refraction, your eye height above the horizon, the apparent radius of the Sun, parallax, and your calibrated index error.
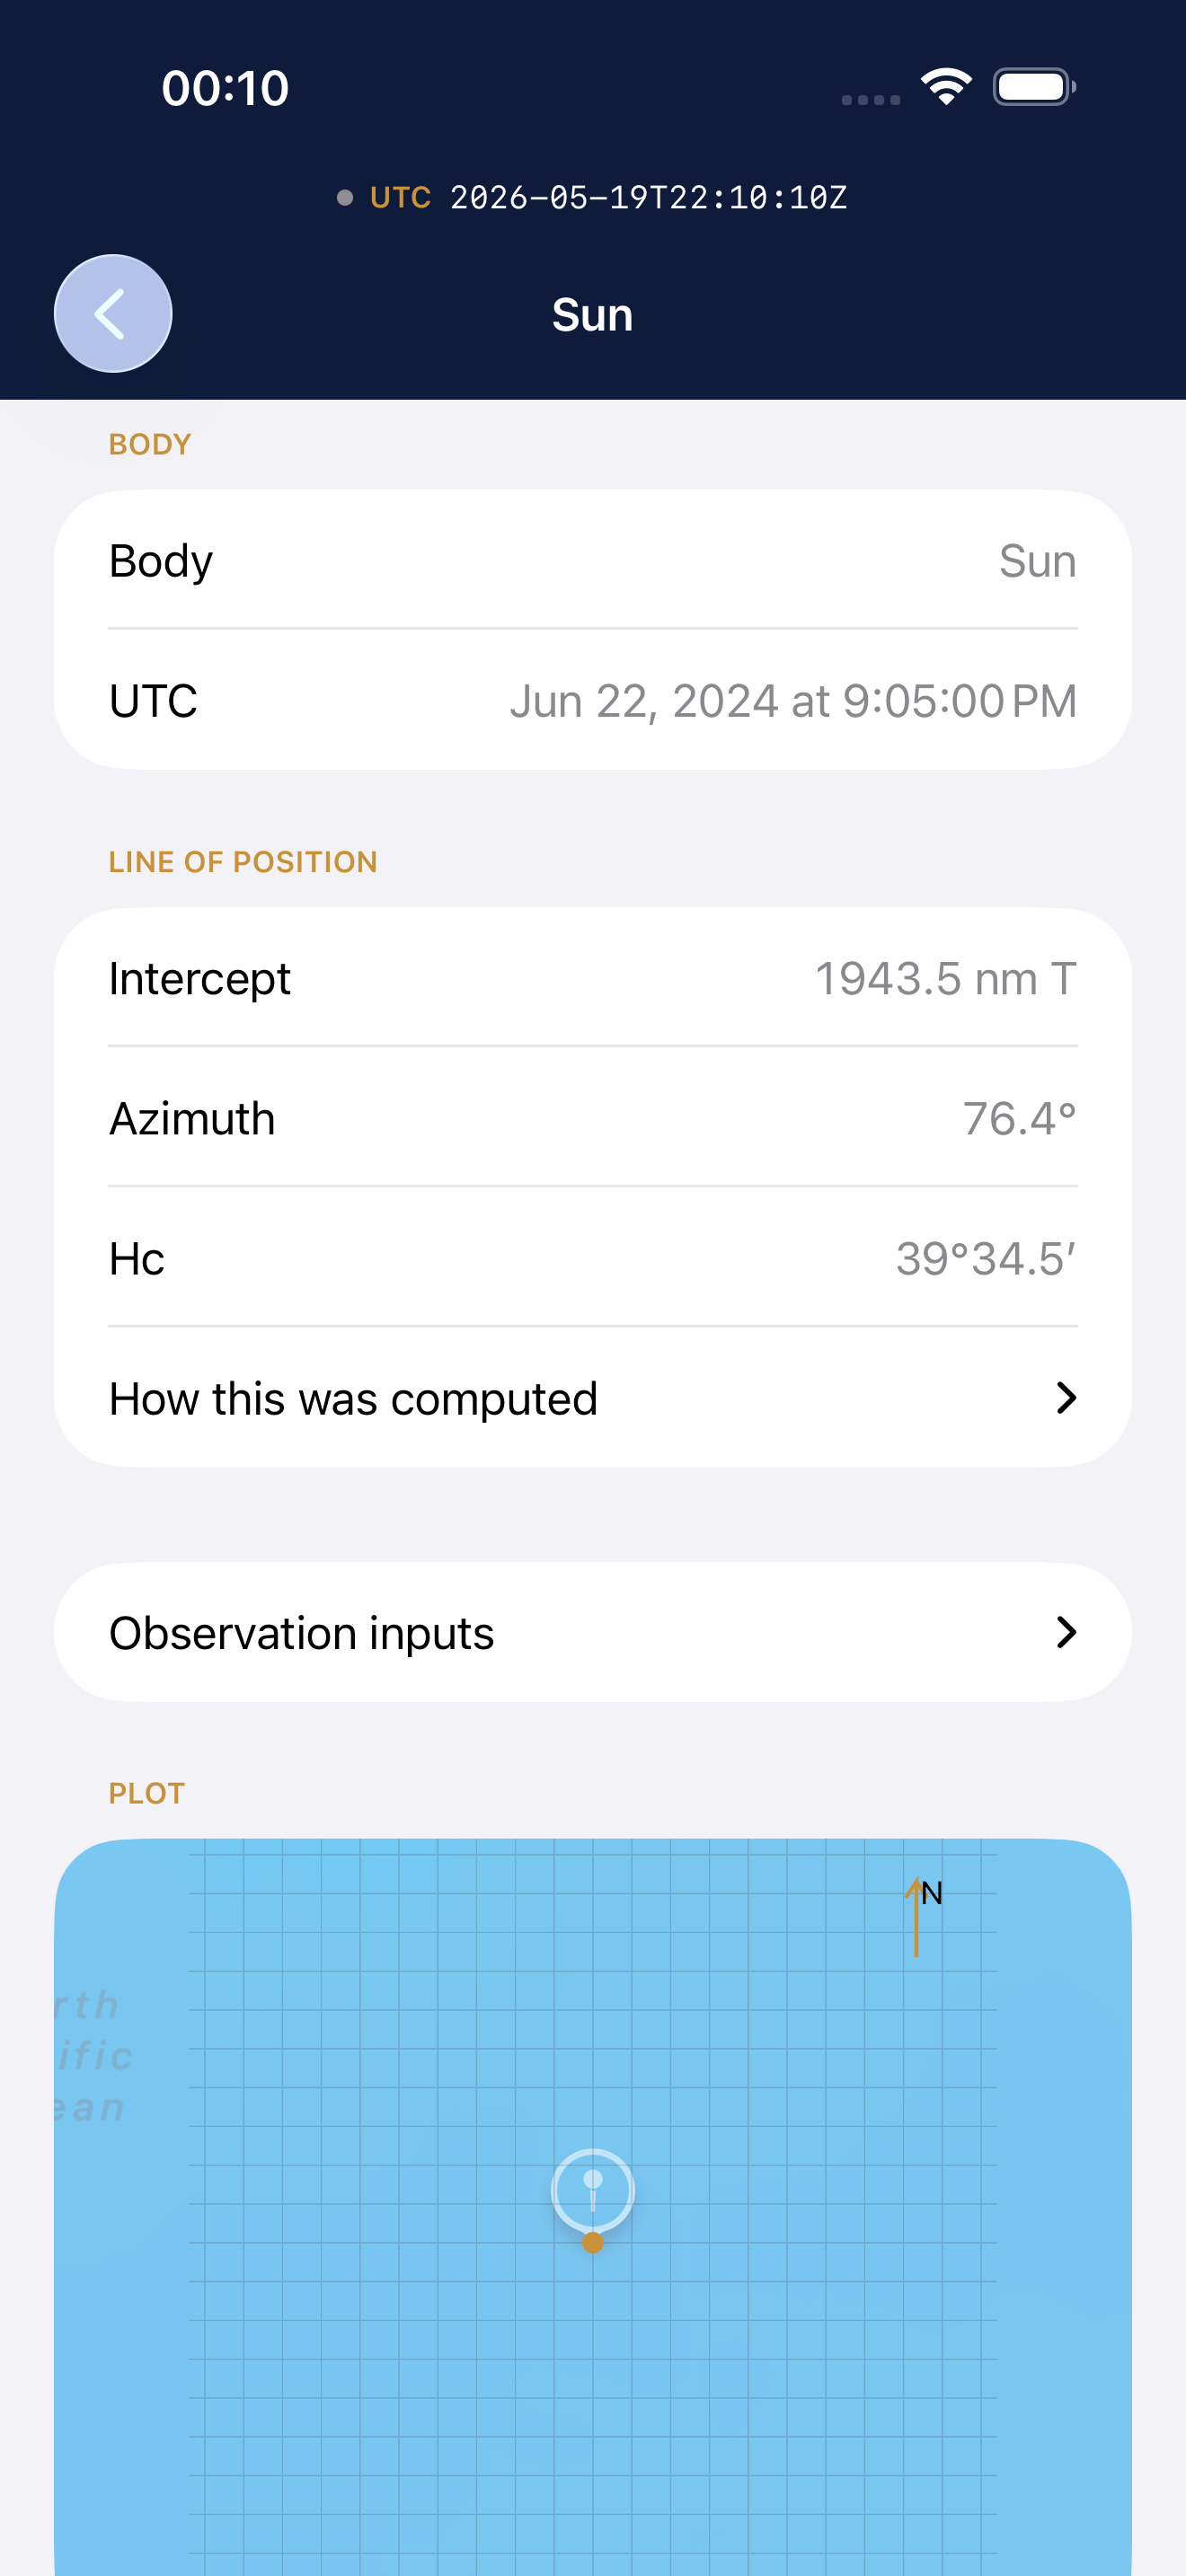
- Computed the intercept — how far off your assumed position is from the true Sun-circle.
- Drew a Line of Position (LOP) on the plot sheet, perpendicular to the Sun's bearing.
Open the new sight from the Sights tab to see all of this. Scroll down to the plot sheet — the orange line is your LOP. You're somewhere on that line.
Indoor practice variant
No clear horizon? No problem. Stand in a room where you can see a known landmark — say, a chimney or a tall building. Use the AR view to measure its bearing and apparent height (above your phone's "horizon", which is now defined by the calibration tilt). It's not real navigation, but it's a great way to learn the controls without the pressure of a real horizon.
Filling a manual sight from AR
What if you tap + on the Sights tab to type in a sight by hand, and then realize you don't have a real sextant? Look just below the Hs field — there's a "Capture Hs with AR sextant" button. Tap it; the AR view appears as a full-screen sheet. Take your shot, MARK, and you're back at the form with Hs and UTC filled in for you. You can then tweak the body, the assumed position, and the optional fields just as if you'd typed everything yourself. Best of both worlds — the speed of AR and the deliberateness of the form.
V.One Sight Gives You a Line. Two Give You a Cross.
A single sight is not a fix. It's a line you're somewhere on. To get a position you need at least two LOPs from different bodies — or from the same body taken at different times while you're moving.
The classic example: the Sun and the Moon
When the Sun and Moon are both visible during the day (which happens about half the time), you have a perfect setup:
- Take an AR sight of the Sun. Save it.
- Switch back to the AR tab. Pick Moon as the body. Take a sight of the Moon. Save it.
- Open either sight. The plot sheet now shows two LOPs.
- They cross at one point. That's where you are.
The tighter the crossing angle (closer to 90°), the more accurate the fix. Two bodies in the same part of the sky make a bad cross; bodies on opposite sides of the sky make a good cross.
VI.The Noon Sight: An Old-School Classic Daytime
Long before electronic chronometers, the noon sight was the workhorse of sea navigation. It still is, for the simplest reason: at the moment the Sun crosses your meridian (Local Apparent Noon, "LAN"), the math collapses to childishly simple arithmetic.
Latitude = 90° − Sun's altitude at LAN + Sun's declination
Yes. That's the formula. Your latitude, in one line.
Doing one yourself
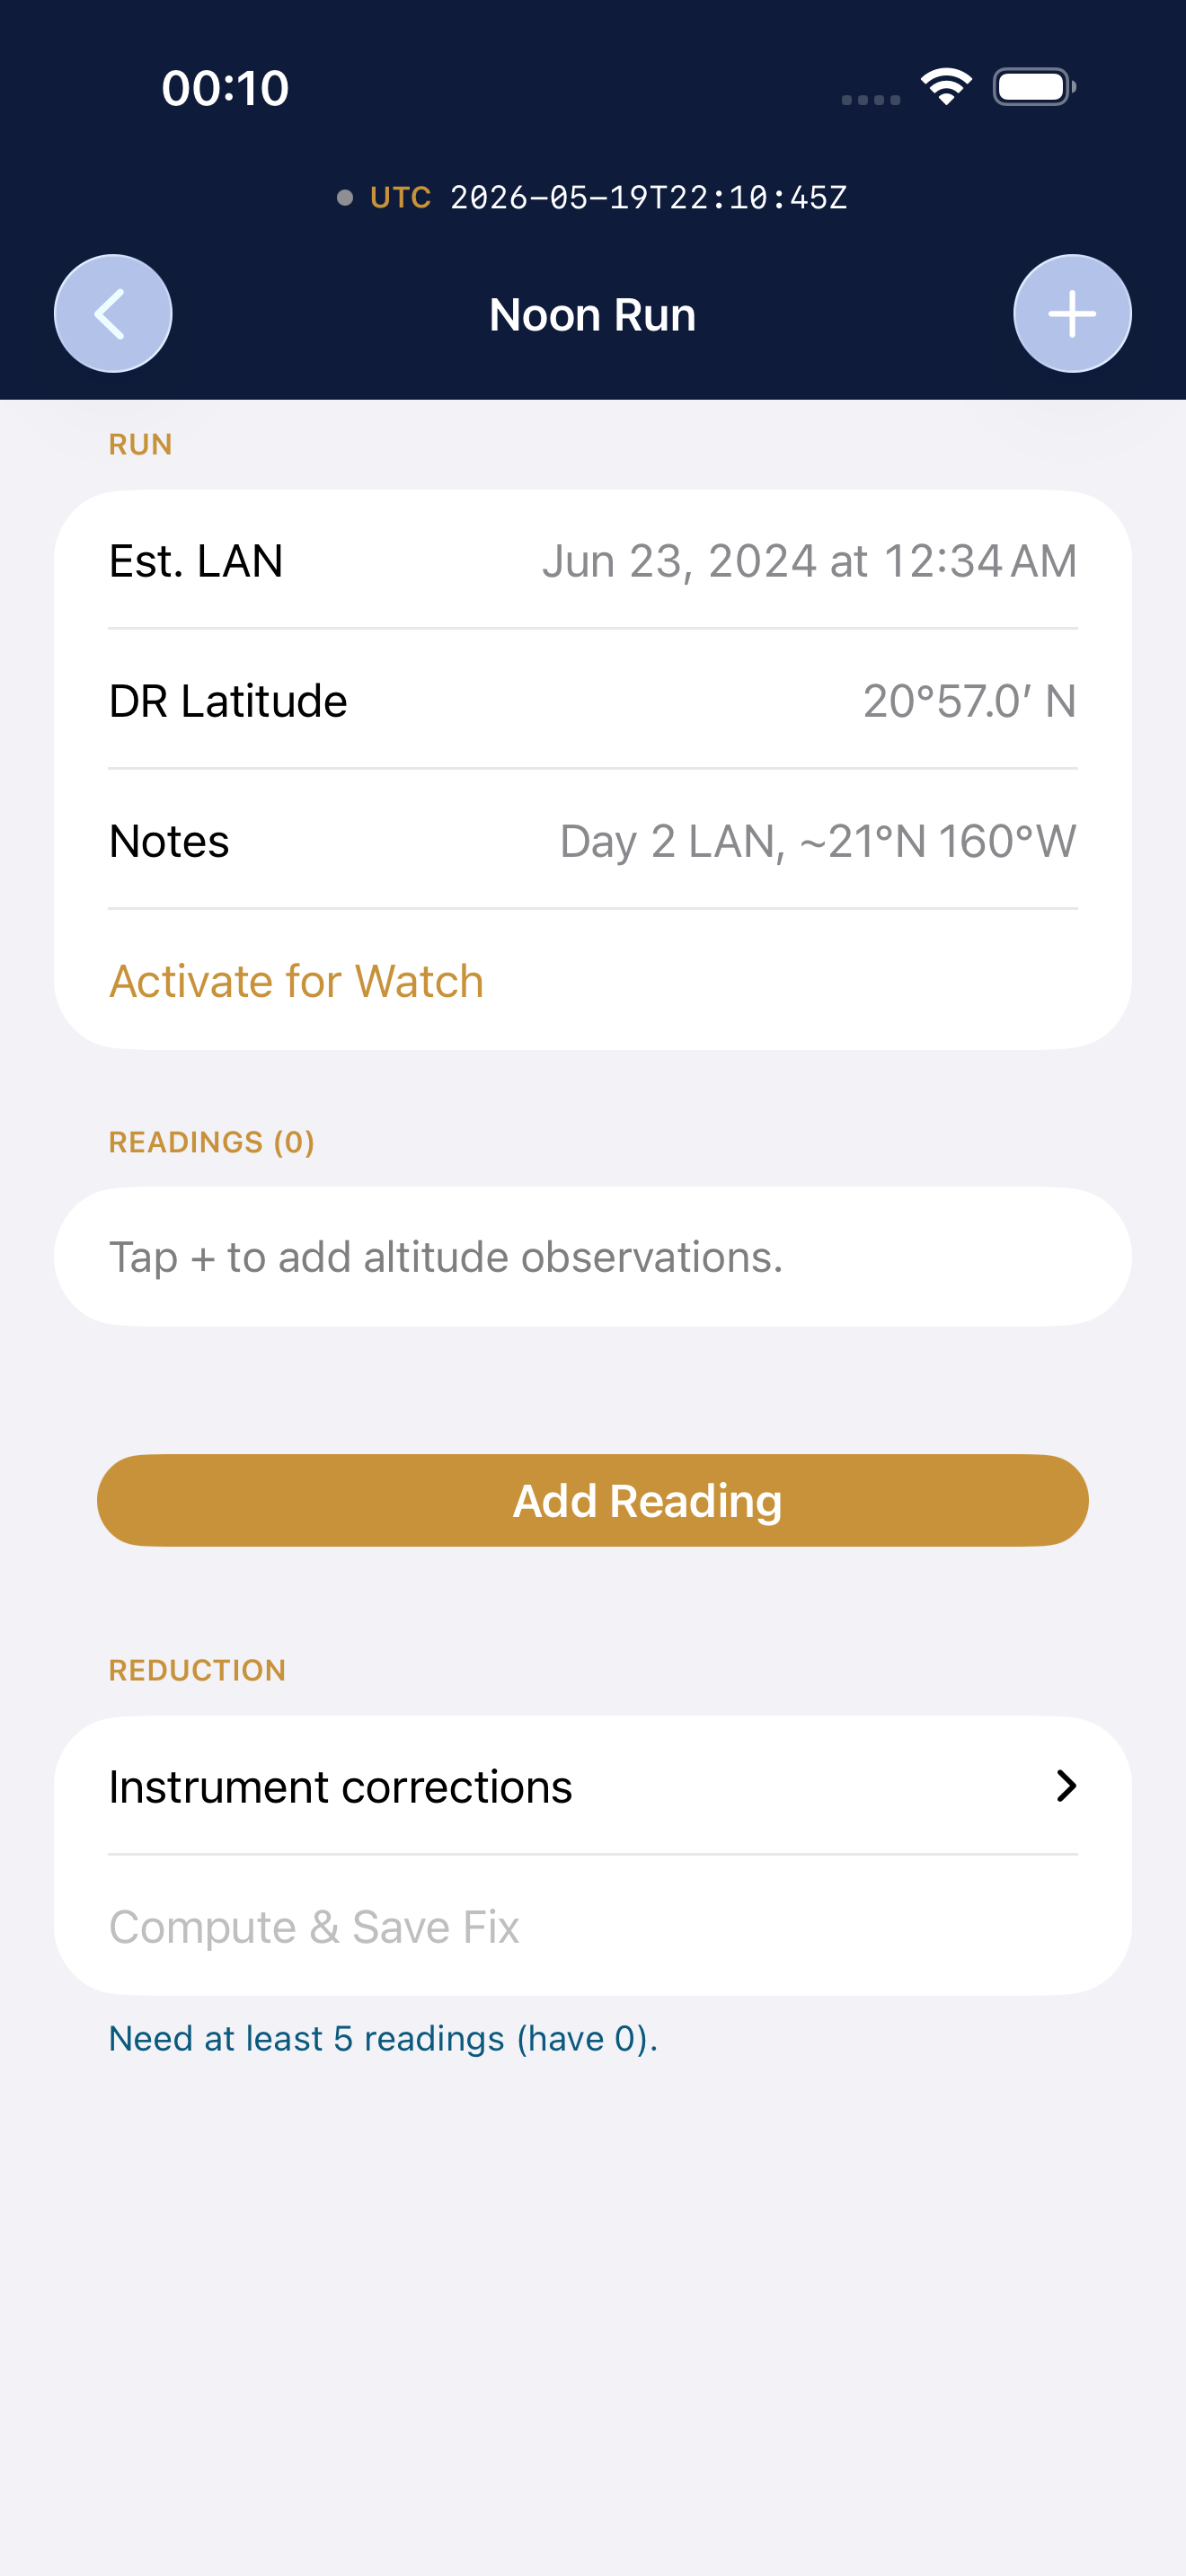
- Around midday local time (when the Sun is climbing toward its highest point), open your voyage and tap the Noon tab.
- Tap + to start a new noon run.
- Enter your DR latitude (your dead-reckoned guess — even ±30° is fine; this is just to disambiguate which hemisphere). Save.
- Now begin taking AR sights of the Sun every minute or so as it rises toward its peak. Tap Add Reading each time. Take 5–7 readings spanning about 6 minutes around noon.
- When the readings clearly start coming back down (the Sun is past its peak), tap Compute & Save Fix.
The app fits a parabola to your readings, finds the exact peak (in altitude and in time), then applies the noon formula above. You get a latitude and a longitude (because the time of the peak tells you when LAN occurred, which tells you your longitude).
Worked example — Day 1 of the demo voyage
The five readings on June 21, 2024, bracketing noon at Honolulu:
After the parabolic fit and the noon formula:
Confidence in a single noon sight is normally ±1 nm. Five readings averaged tightens it.
What you'll notice
- The peak readings differ by only seconds of arc. That's normal — the Sun's altitude changes very slowly near LAN. This is why noon sights are so forgiving.
- The "Noon" tab in the demo voyage shows two complete noon runs — one for each day of the passage. Open one and look at the parabolic curve in the readings list.
VII.Polaris: The Friendly Star Nighttime
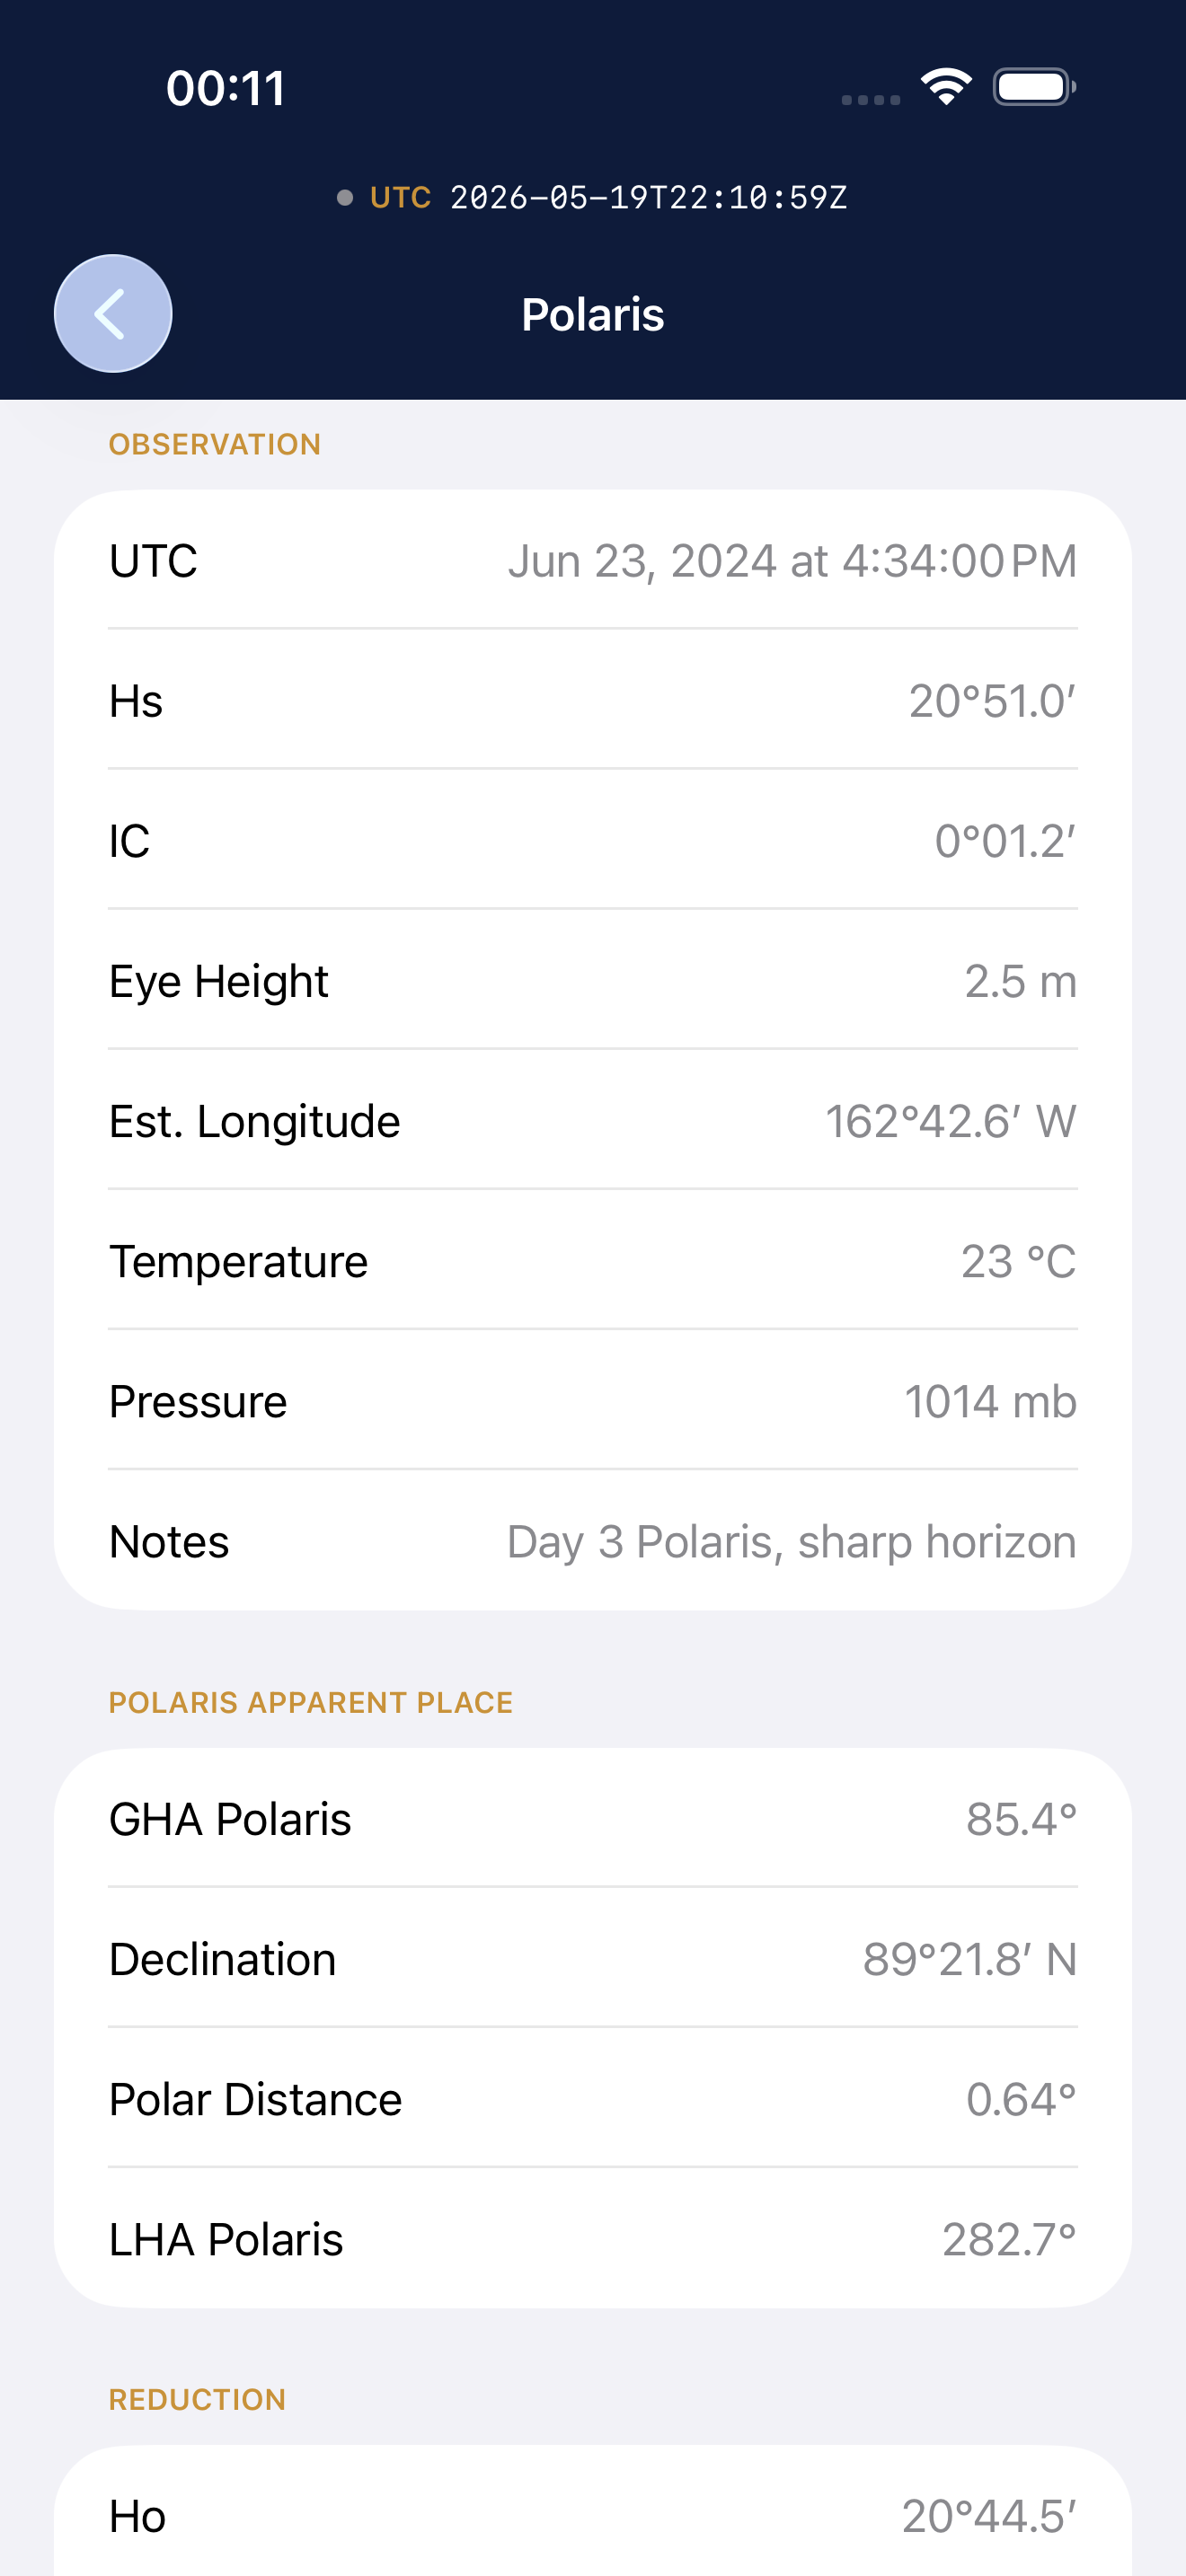
Polaris (the North Star) sits within about 0.7° of the true celestial pole. That means its altitude above your horizon is almost exactly equal to your latitude. Always. Forever.
Stand at 21° N (Honolulu) and Polaris will be 21° above your horizon. Stand at 60° N (Bergen, Norway) and it'll be 60° up. That's the whole trick — the app applies a tiny correction for Polaris's small distance from the true pole, and you get latitude directly.
Doing one
- After dark on a clear night (Polaris isn't visible during the day), open your voyage and tap the Polaris tab.
- Tap + to start a new observation.
- Enter your estimated longitude — even rough is fine; it's used only for the small correction.
- Switch to the AR tab, pick Star → Polaris, point at the North Star, MARK. Save.
- Back on the Polaris tab, pull in the saved Hs. The app applies the polar correction and shows your latitude.
The demo voyage has 3 Polaris observations from the Hawaiian passage. Open one and you'll see Hs ≈ 21° (the latitude of Honolulu). Different mornings show ±20′ of natural variation — that's what real measurements look like.
VIII.The Running Fix: Navigating While Moving
Here's a real problem: at sea you're moving. By the time you take a second sight, you're not in the same place anymore. The two LOPs cross — but they cross at where you were, not where you are.
The solution is a running fix. You take Sight A, then sail for a while on a known course and speed, then take Sight B. The app advances the LOP from Sight A forward in time using your course and speed (basically: slides the line in the direction you sailed, by the distance you covered). Then it crosses the advanced LOP A with the fresh LOP B to give you your current position.
Doing one
- Open your voyage. Take a sight (any body) — let's call it 09:00.
- Sail or walk. Note your course (direction in degrees true) and speed (in knots).
- An hour or two later, take a second sight. (For a stronger fix: take three sights total.)
- Open the Running tab. Tap + to start a new running fix.
- Enter the course, speed, and reference UTC (the time you want to know your position at — usually the time of the latest sight).
- Tap to add each constituent sight. Save.
Worked example — the demo's Sun-Sun-Sirius running fix
After the time advance:
IX.Twilight Stars: The Navigator's Sweet Spot Nighttime
Right after sunset (in the evening) and right before sunrise (in the morning), there's a magical 20-minute window called civil twilight. The Sun is just below the horizon, the sky is dim enough that bright stars are visible, and the horizon is still sharp enough to measure against.
This is the navigator's golden hour. You can shoot 3–5 stars in different parts of the sky and get a beautiful 5-line fix with a tiny cocked hat.
Doing one
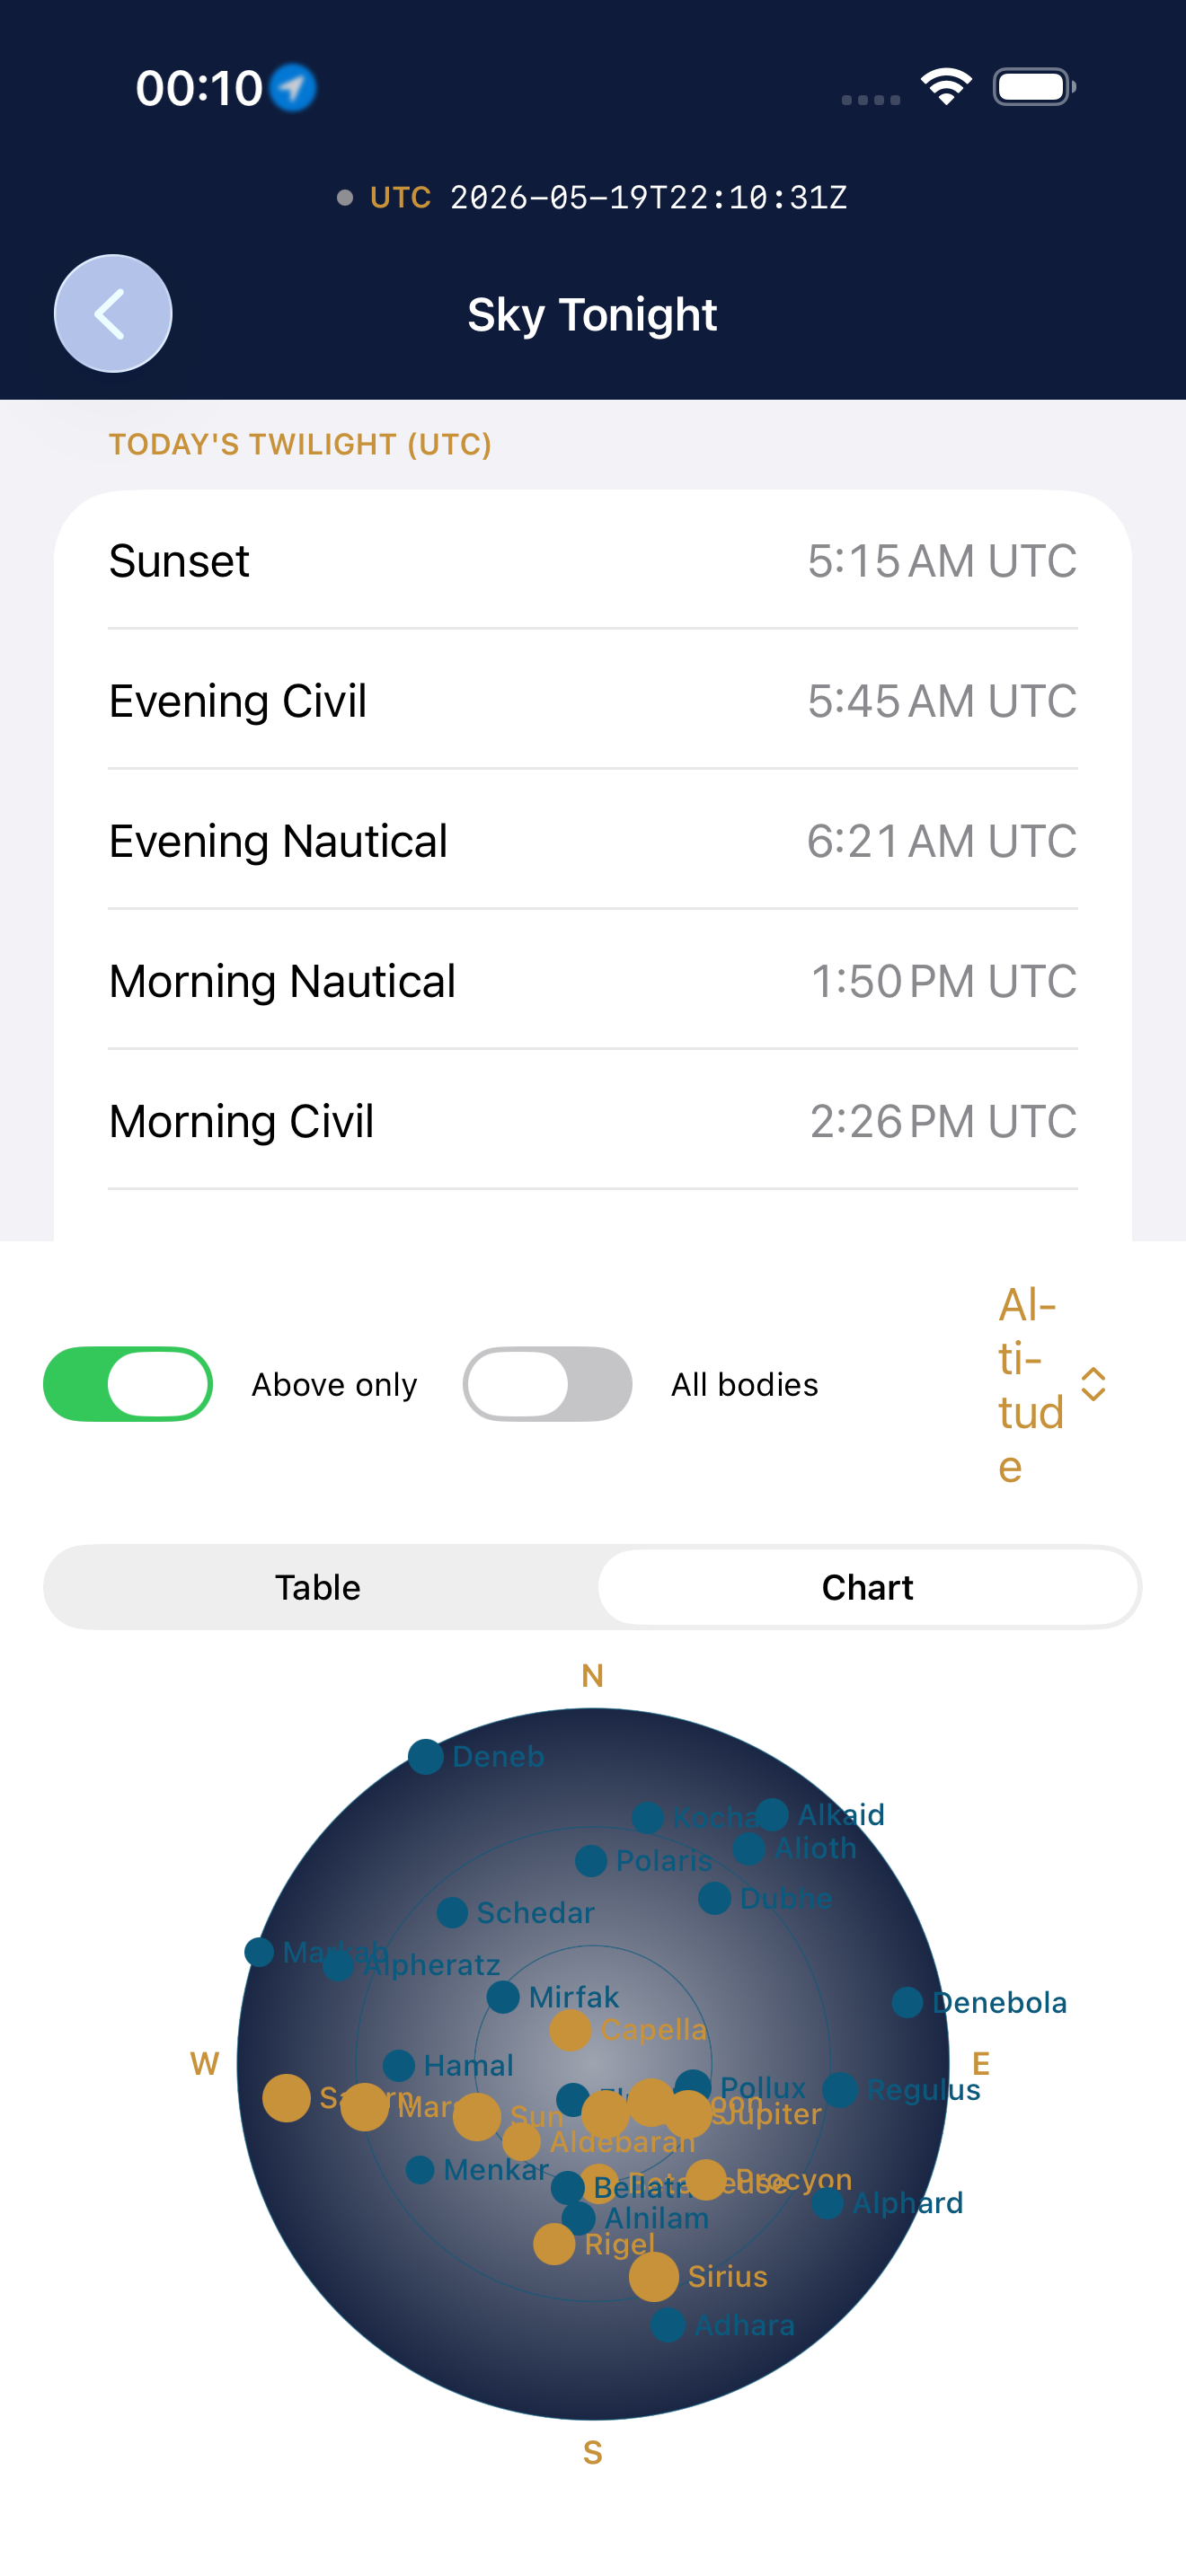
- Plan ahead. Tap the binoculars icon in the toolbar to open Sky Tonight. Set your observer position (the app will offer to fill it from your device's location), then scroll the time forward to the upcoming twilight.
- The Twilight section shows exactly when civil twilight begins and ends.
- Look at the Chart view. It shows what's where in your sky at that time. Pick 3–5 bright bodies in different compass directions — ideally well-spaced (every 60–90° around the compass).
- When twilight comes, take a sight of each. Save them all.
- The Sights tab now has 3–5 LOPs. Open any one and you'll see the others crossing on the plot sheet — that's your twilight fix.
The demo voyage has a Sirius + Capella twilight pair from Day 2 of the passage. Open either one and look at how the two LOPs cross.
X.Reading the Plot Sheet
Open any sight or fix detail and scroll to the plot sheet. Here's what you're looking at:
- The grid — a 2-nautical-mile spacing — local plotting scale.
- The dot in the middle — your assumed position (AP). The app uses this as a starting guess; the math figures out how far off it is.
- The orange lines — your LOPs. The number on each line is the body's azimuth.
- The hollow circle — if there are 2+ LOPs, this is the computed fix — your most likely position.
- The map underneath — real geography (coastlines, ports). It's faded so the navigation lines pop, but it gives you spatial context. The map is decorative — trust the grid, not the map. The grid's scale is exact; the map is just a reference.
If you imported any GPX or KML overlays via the Overlays toolbar (square-dashed icon), they'll appear as thin gray lines underneath the LOPs.
XI.Comparing Your Fix to GPS
The whole point of this app is celestial navigation — finding yourself the way navigators did before satellites. So GPS is firmly opt-in. The app never quietly checks your location and never compares behind your back. The horizon, the body, and the math are the truth here; the satellites are an optional referee.
When you're proud of (or suspicious of) a fix, open it and scroll to the bottom. You'll see a Compare with GPS button. Tap it once and the app:
- Asks for one-shot location permission (the first time only).
- Reads your phone's current position.
- Computes the great-circle distance between that position and your celestial fix.
- Saves the result alongside the fix so you can see it later.
You'll get a single number — say, 3.1 nm from celestial fix — and the GPS lat/lon for reference. After that the button becomes Re-check, in case you want a fresh reading later.
XII.Going Under the Hood: the Math Explainer
Curious how the app turned your sextant reading into a position? Open any saved sight and look in the Line of Position section for "How this was computed". Tap the chevron and the app walks through the six steps of sight reduction — using the actual numbers from that sight.
You'll see:
- The raw Hs you measured.
- The corrections that turn it into Ho — index correction, dip, refraction, semi-diameter, parallax — each one a single labeled line with a sign.
- The almanac entry: GHA and Dec of the body at your UTC instant.
- LHA = GHA ± your longitude.
- The spherical-triangle formula that gives Hc and Zn.
- Intercept = Ho − Hc, with "Toward" or "Away" relative to the body.
It's a reading view, not a quiz. You don't have to look at it. But once you do, the rest of the app stops feeling like magic and starts feeling like arithmetic — which is the truth, and the joy of it.
XIII.Tips for Better Sights
Real navigators have a few habits worth stealing.
- Calibrate often. Re-do the AR calibration if you've travelled, dropped your phone, or changed cases. It takes 5 seconds.
- Take multiple shots. Three sights of the same body 30 seconds apart and average the altitudes. The result is more reliable than any single shot.
- Eye height matters. The default 2.5 m is reasonable for someone standing on a small boat or beach. If you're 30 m up on a cruise ship deck, change it — the dip correction depends on it.
- Atmosphere matters less than you'd think. Refraction varies by ±10% with temperature and pressure. The app uses 10 °C / 1010 mb by default, which is fine for ±1′ precision. For better, fill in the actuals.
- The horizon is the weak link. A clean sea horizon is what makes celestial nav work to arc-minute precision. Hazy horizons, distant land masses, or building tops don't cut it. AR mode uses the artificial horizon (your phone's tilt sensor), which is roughly as good.
- Time matters most. A 1-second timing error becomes a 0.25-arcminute longitude error, which is 0.25 nautical miles. Always shoot when your phone has good time sync (it will, automatically, if you have any cellular or wifi).
- Don't trust your first fix. The first sight you take after learning is statistically wrong. The third or fourth will be much better. Practice a lot in your backyard before relying on this at sea.
XIV.Troubleshooting
"The intercept is huge — like 800 nm."
You probably entered the wrong body, or had a major timing error, or your assumed position is hilariously far from where you actually are. Check those three things first.
"My LOP is way off compared to where I know I am."
Index error. Re-calibrate. If still off, check whether you're holding the phone in the orientation the calibration assumed (camera back, top edge pointing skyward).
"Polaris altitude doesn't match my latitude."
Are you in the southern hemisphere? Polaris is below the horizon south of the equator. Use a different method (noon Sun, or a star sight).
"The noon sight 'No peak found' error."
You took your readings either before the Sun started climbing or after it began descending — but not bracketing the actual peak. Take 3 readings before peak, 1 at peak, 3 after. The parabola fit needs both sides.
"The map under the plot is just water."
You're either far from land, or the map's loading. The grid is the authoritative scale; the map is just decorative. Don't worry about it.
XV.Going Deeper
If you've worked through this manual and want to learn the real theory:
- Celestial Navigation in a Nutshell by Hewitt Schlereth — a friendly, slim paperback introduction.
- The American Practical Navigator ("Bowditch") — the canonical reference, free online from the U.S. government. Comprehensive but dense.
- Astronomical Algorithms by Jean Meeus — the math behind the app's almanac. Heavy, beautiful.
Or just keep using the app. Take a sight every clear day. After a month you'll have intuition that no book can give you.
XVI.A Full Day's Navigation
Let's walk through what a complete day looks like, using the demo voyage's Day 1 as a template.
Morning — 06:32 UTC = 20:32 local on June 21, off Honolulu
The Sun is climbing in the east. Take a single AR sight — Sun, lower limb. The demo's Day 1 morning Sun gives Hs = 38° 42′. The intercept is small, the LOP runs roughly NW–SE.
By itself, you don't know where you are along that line. But you know your DR is roughly 21° N, so you're somewhere on the LOP near 21° N. Confidence: ±30 nm.
Approaching noon — 22:30 UTC
The Sun has been climbing all morning. Open the Noon tab, start a noon run, take 5 readings spanning 22:27 to 22:33 UTC. Each reading is roughly 91.5° (the Sun is nearly overhead in late June at 21° N — that's the summer solstice, the Sun is directly above the Tropic of Cancer at 23° N). Tap Compute Fix.
The app finds the peak at 22:30:00 UTC, altitude 91.7°. Latitude: about 21° 18′ N. Longitude (from the time of LAN): about 157° 52′ W. Confidence: ±0.5 nm. You now know exactly where you are.
Dawn the next morning — 14:28 UTC = 04:28 local June 22
Civil twilight. Take a Polaris shot. Hs ≈ 21° 12′. After the polar correction: latitude = 21° 15′ N, agreeing nicely with the noon fix. Polaris confirms what the noon Sun told you — the redundancy is what makes celestial navigation trustworthy.
That's a complete day. You have a fix, you have a confirmation, and tomorrow you'll do it all again. After three days you'll have a track of your position drawn across the chart, with each day's noon fix marking another step westward. That's the discipline of celestial navigation — slow, deliberate, satisfying.
A Final Word
For most of human history, knowing where you were on Earth was hard. People died of it. Empires rose and fell on it. The instruments and methods you're now using on a phone were once state secrets — Spain executed people for revealing them.
You're now part of an unbroken line of navigators stretching from the Polynesians to the Vikings to Columbus to the Apollo astronauts (yes, they used a sextant). You don't have to do this for a living. But knowing you can — that with a clear sky, a watch, and a working brain you'll never truly be lost — is one of the small free joys life still offers.
Go take a sight. The Sun is up.